2.27.2014

FIND JOY / DS #140...


Good morning! It's a gorgeous day outside - only COLD! We were in the mid 70s a couple days ago, now it's the mid 40s... so crazy! We have a new Deconstructed Sketch today, it is so sweet! I turned my circle into a square... I know that doesn't really surprise you - lol! I also use the LJD Cheerful Blessings set from MFY Stamps - it is really one of my faves right now!


Be sure to to play along and check out all the other ladies wonderful inspiration! 


Have an amazing day!

2.25.2014

YOU'RE SO AWESOME / CQC #230...


Happy Tuesday! We have some "awesome" colors for you today over at colourQ - come play with us! I wanted to make a guy card - so I dug out a retired WPlus9 set - So 80's... I love it! With all the paint splatters and such these days in stamping, I think they should have held on to this one a bit longer in their shop!


Have an awesome day!

FILL THIS DAY WITH JOY / PTI February Blog Hop...


Hello! It's a busy day - as usual! I loved the Make it Monday challenge to use a watercolor wash over at Papertrey Ink yesterday, so I decided to use it for my PTI Blog Hop card, too! I used watercolor paper, so it would take the ink better, and I wanted to keep it simple to show off the technique. I will definitely be using this one again.


 Have fun hopping!

2.23.2014

LUCKY DELIVERY / ADFD New Release...


This is my third hybrid card... I usually print out two or three sets of card pieces at the same time (you can see how I set them up below), since it saves on paper! I digitally paper pieced this adorable new image, Lucky Delivery by A Day For Daisies using Laura Passage's Summer Wildflowers papers... aren't they lovely? 

Sometimes when I am doing a hybrid project, I will darken the papers just a tad. Her green bonnet and the green in her sleeves and clovers are all the same paper, just darkened.


Have a wonderful day!

KEEP CALM AND GEEK ON / P&Co....


One of my ALL-TIME FAVE digi scrap designer is Mommyish ~ Leah Riordan. This is a hybrid card using her kit Geek Chic... these colors are awesome! All the embellishments are elements from the kit - except the "real" button - LOL!


Bye for now!

HE SHALL LIFT YOU UP / P&Co....


I have a fun little hybrid card I put together a few days ago using Laura Passage / Wishing Well Creations' kit, Bring On Spring! LOVE those little birds and that gorgeous flower~y paper! I set up the sentiment, and you can grab the PNG below, just right click on it and save!

Also - if you missed it, I did a tutorial on my process for making hybrid cards, which can be found here.


Bye for now!

2.22.2014

A FRIEND IS... / RS #103...


I'm back with a card for this morning's new RetroSketch! We have something a little different today - a TAG! Of course you can always add your tag to a card if you want! I based my colors on that beautiful washi tape - oh how I love bright colors!


I used these three sets again from My Favorite Things... DC Jumbo Abstract ArtLJD Cheerful Blessings and Sunny Day Doodles Borders and Accents... I am in love with them!


Have a great day!

DIY Custom Apron Hybrid Project / P&Co...


Happy Saturday! I have this fun little project over at on the blog at Pixels and Company! This would make a fantastic gift, don't you think? Start to finish is under 30 minutes and it’s a fairly inexpensive project.
What you’ll need…

  • Digital kit – I used Scotty Girl Design’s kit,  Recipe Maven Elements (love it!)
  • Scissors
  • Ruler
  • Iron-on transfer paper
  • Blank apron – I bought a pack of 3 canvas aprons for $10
  • Iron and flat surface.

Step 1 – Measure the area your image will cover on your apron and set up your image (I used a 150 dpi document in Photoshop so that my elements would be larger) then print. I used Avery Light transfer paper, so before I printed, I had to mirror the image.  (If you use the Avery Dark transfer paper, you don’t need to reverse the image.)
Step 2 – Trim your image. Try to leave only a 1/8″ to a 1/4″  border.
Step 3 – Following the instructions included with the transfer paper, iron your image onto your apron.


And voilĂ  – you’re done!


Bye for now,

2.20.2014

CHEER UP / DS #139...


Good morning!!! Ready for another fun sketch from the Deconstructed Sketch??? I used LJD Cheerful Blessings from My Favorite Things. Such a beautiful set! I rarely do a white card base, but this card needed it... and it wasn't too bad, LOL! Funny how little things scare me - I always fear my white based cards will look really weird!


Here's the sketch - be sure to play along and check out the other ladies inspiration!


Have a super great day!

2.18.2014

PRAYING GOD SENDS SUNSHINE / CQC #229...


Hello! Here's a little card I whipped up for this week's new colourQ - don't you LOVE these colors??? The inspiration for this palette is an amazing retro~ish recipe box.... I want it!


I used three fun sets from My Favorite Things... DC Jumbo Abstract Art, LJD Cheerful Blessings and Sunny Day Doodles Borders and Accents.


Bye for now...

I THINK YOU'RE AMAZING Hybrid Card Tutorial / for BasicGrey...


Hello! I have this little tutorial up on the BasicGrey blog today - woohoo! Ever wondered how you would go about making a hyrbid card from a digital scrap kit? You KNOW all your favorite papers can be found in digital, right? If you have a printer - that means an ENDLESS supply of your favorite prints... as long as you have the ink!

Well, here's how I make a hybrid card...


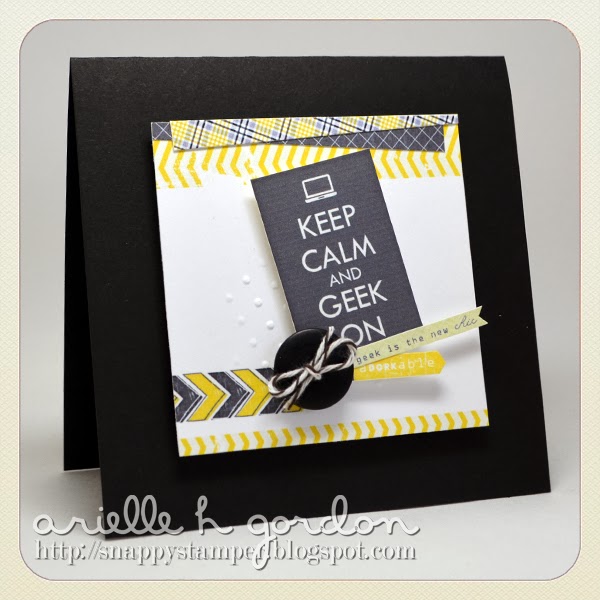
Step 1 - Layout your card exactly how you want to finished product to look like & crop it. The size of mine is 3.25" square. The card base is 4.25" square.

Step 2 - Move everything that will be an additional layer onto the side of your document to print.


Step 3 - Trim everything out.

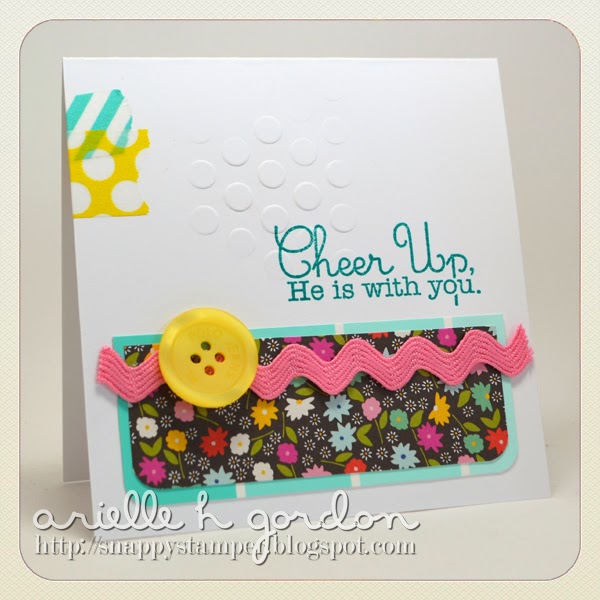
Step 4 - Optional - I wanted to add some additional texture to my card, but only in one spot. I put my paper into an embossing folder and used a rubber mallet to emboss a small section. (YES - I used to use my heel or a heavy glass candle lid, but the EASIEST and most precise thing I have found is a rubber mallet!)

Step 5 - Glue it all back together! Add any additional embellishments you choose.

See you later!